Chicken katsu is a quick and tasty crispy Japanese fried chicken cutlet made with panko breadcrumbs. You’ll want to use Panko when frying all the time after this recipe.
What is Katsu?
Chicken Katsu is one of my FAVORITE ways to cook chicken. For starters, it’s super easy and most of the ingredients you’ll use are common in other recipes as well. Katsu is fried cutlet made with Panko breadcrumbs. It is a Japanese dish usually made with pork but it can also be made with chicken, seafood, and other types of meat.
The term “Katsu” refers to a Japanese cooking method where meat is breaded and deep-fried to achieve a crispy exterior while keeping the meat tender and juicy inside. It’s typically served sliced into pieces with tonkatsu sauce on the side.
How to Make Chicken Katsu
I remember growing up and going to Yummy Korean BBQ all the time. They had the best chicken katsu ever. It was so crispy and crunchy, had a lot of taste but not much fat, and it was still juicy. One thing to know about me is that I’m very picky about the chicken I eat because I really don’t like the texture of fat when I chew. This is what inspired me to make my chicken katsu this way.
Ingredients
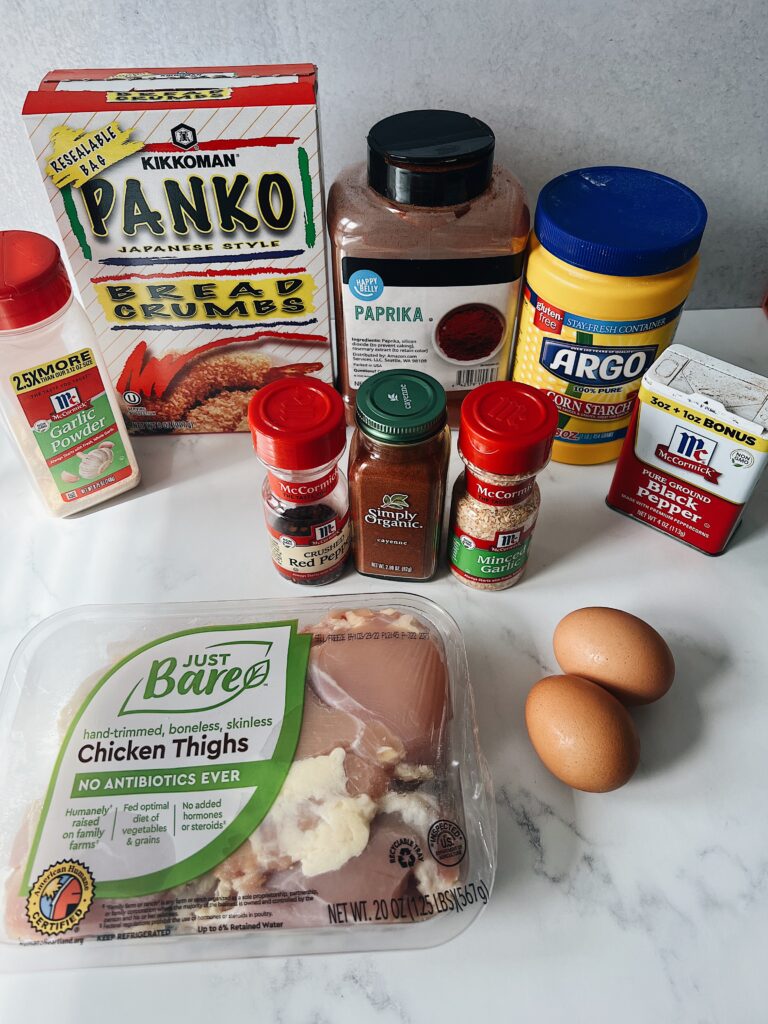
- Chicken Thighs- I like to use chicken thighs because they are a little more fatty then chicken breasts and carry more flavor.
- Panko- I like using Japanese Panko because it makes it so much more crunchy!
- Eggs
- Cornstarch
- Vegetable oil- Or Canola oil, for frying.
Seasonings I use in Panko
- Cayenne Pepper
- Onion Salt
- Oregano
- Garlic Powder
- Paprika
- Crushed Red Pepper
Katsu Sauce Ingredients
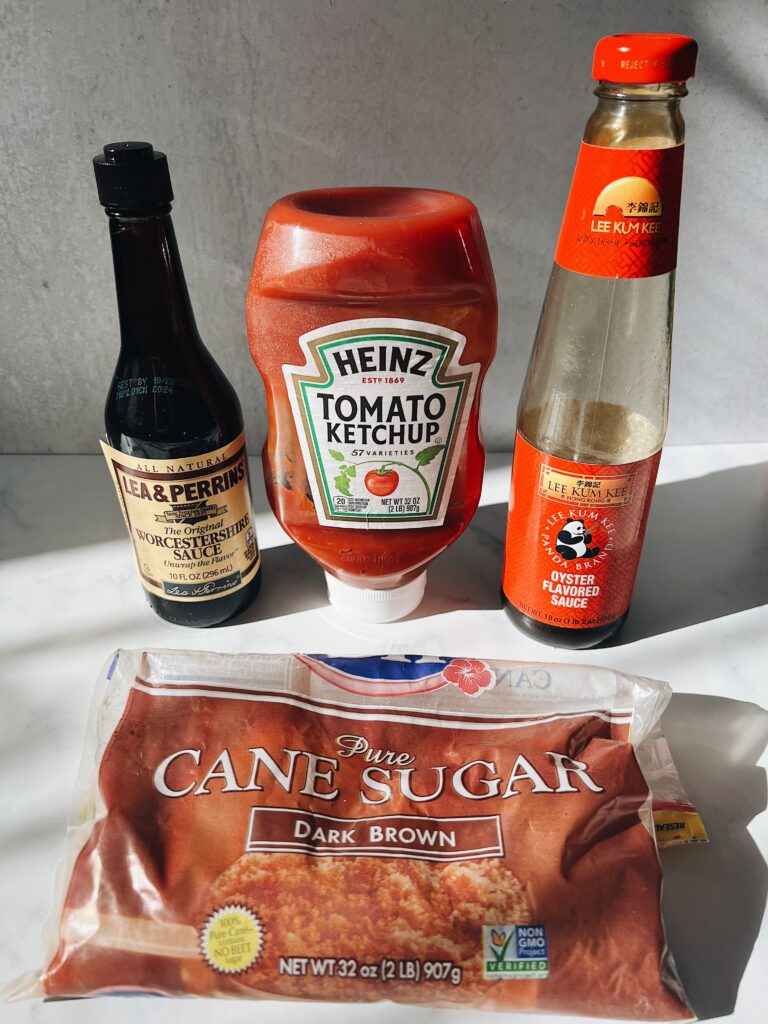
- Worcestershire
- Ketchup
- Brown Sugar
- Oyster Sauce
Step by Step
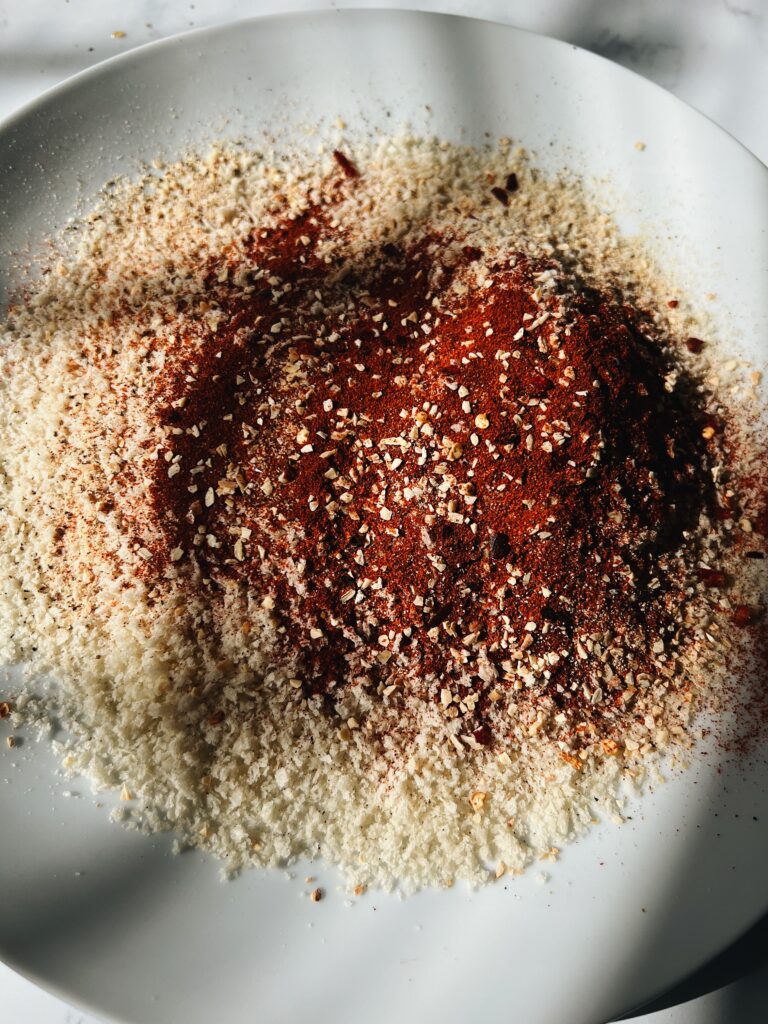
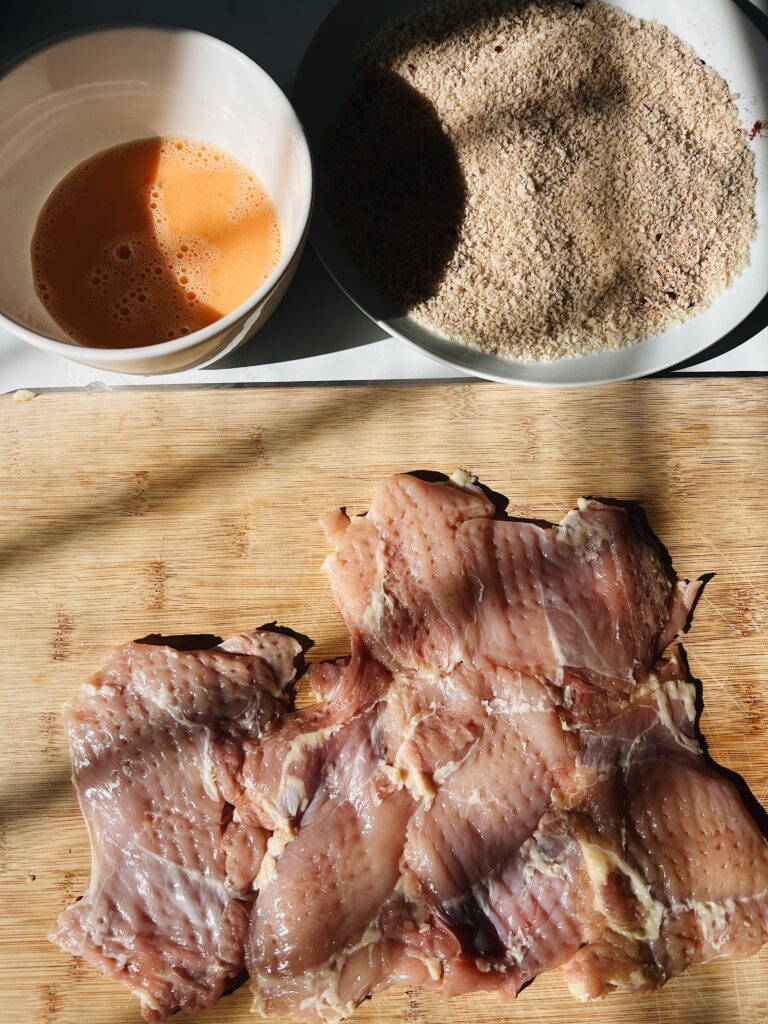
Before pan frying chicken I always like to tenderize it. It allows the chicken to fry evenly and makes the meat softer. Season the Panko and put that on the side and make the egg mixture. I usually put the egg mix on the very left of the stove then the Panko next to it by the hot pan so its a seamless transition from each bowl into the pan.
I recommend using one hand to coat the chicken for the wet (egg) and the other hand for the dry (Panko). This prevents the Panko from getting clumpy and sticking to the chicken.
You want the oil to cover at least 1 inch of the bottom of the pan. To check if your oil is ready take a wooden spoon and stick the end into the oil. Once there’s small bubbles around it then its ready for frying! If it starts bubbling too hard then your oil may be a little too hot.
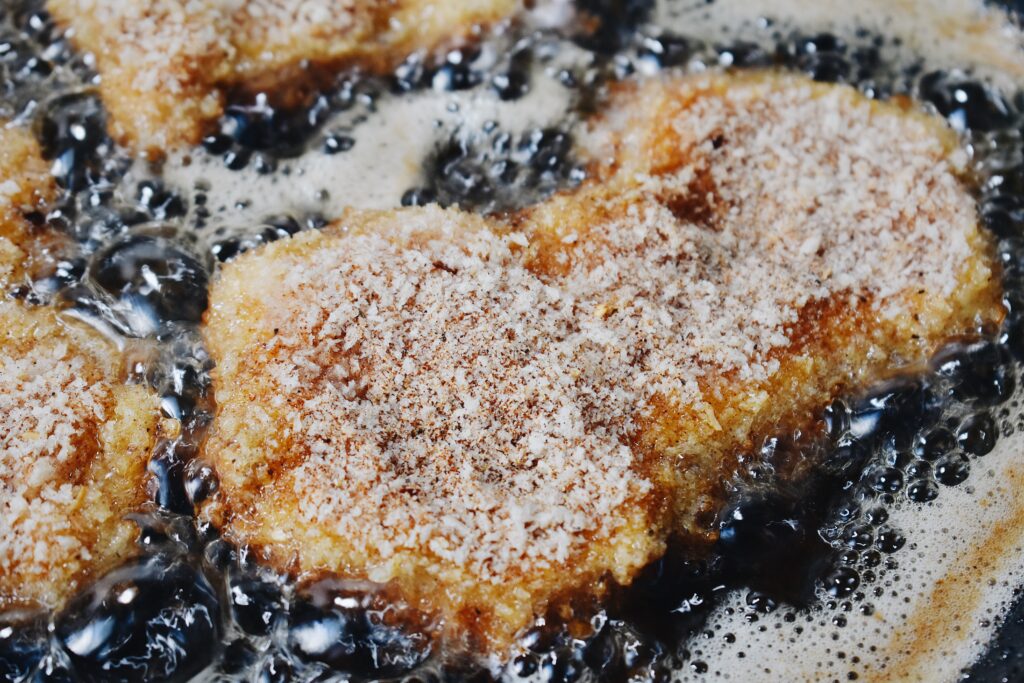
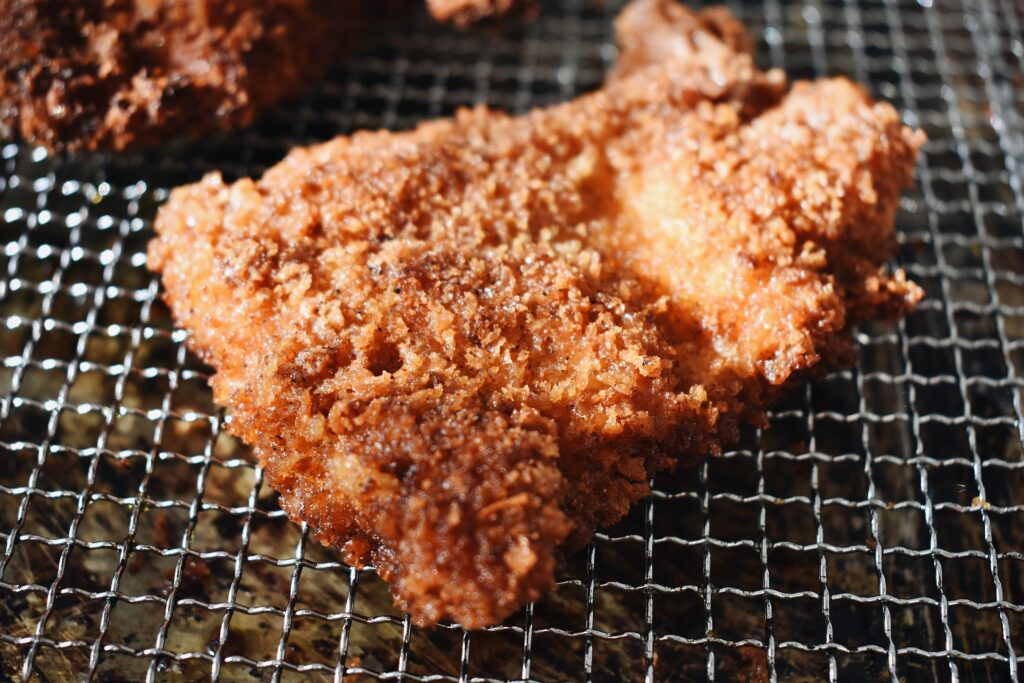
When you fry your chicken you want it to be a nice golden brown on both sides like the photos. Then take it out and put it on a cooling rack so the oil can drain and the chicken will become crunchy.
Let the chicken rest for a while until it is cooled before cutting into pieces. This helps keep its shape, all the juices stay in, and you won’t burn your fingers.
The sauce takes only a couple minutes and is perfect at room temperature when serving. Put all the sauce ingredients together in a small saucepan and mix until the brown sugar has dissolved. Taste to make sure it’s to your liking, remove from the heat, and put on the side.
How to Serve Chicken Katsu
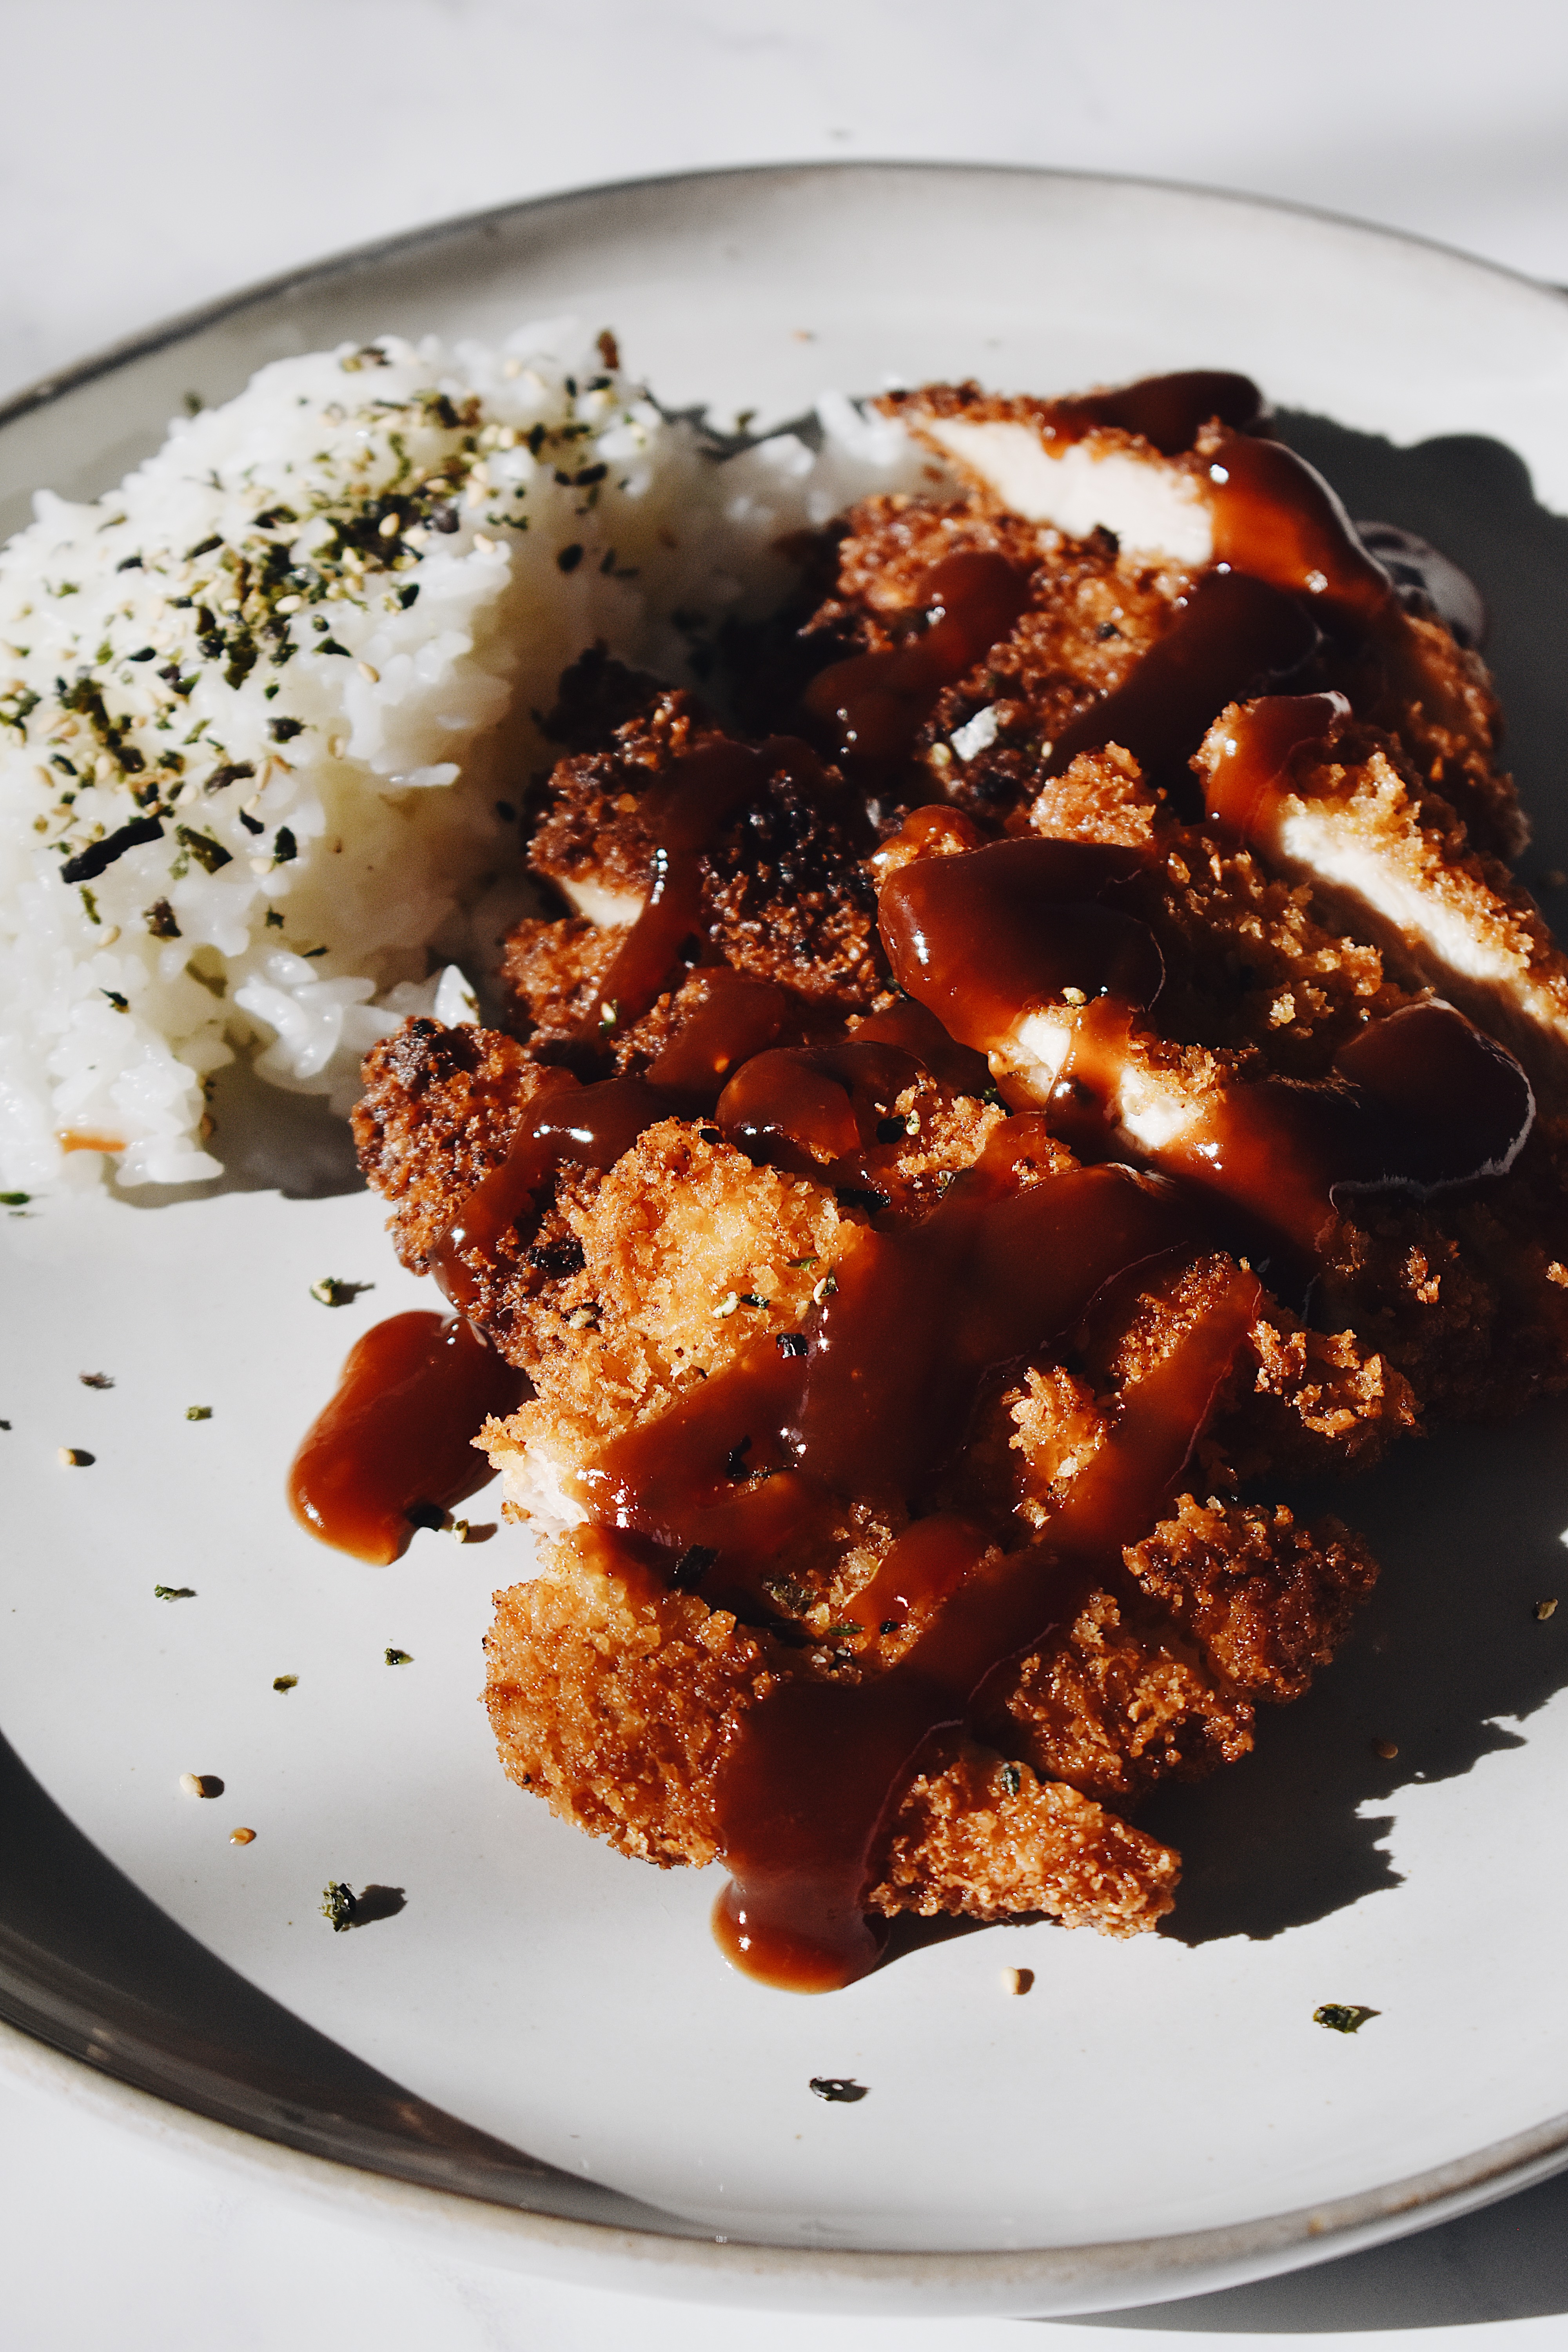
I love eating Chicken Katsu with tonkatsu sauce drizzled on top with a side of rice sprinkled with furikake. This is also a perfect dish to bring to parties, potlucks, etc! In Hawaii, you’ll get Mac salad or side salad along with a scoop of rice n the side.

I hope this recipe has inspired you to try something new if you haven’t already! Feel free to experiment with different seasonings and side dishes to make it your own.
If you’re looking for more inspiration, this Mochiko chicken recipe is similar and takes chicken to the next level! My Kimchi Fried Rice recipe would also pair perfectly with this dish along with this refreshing Ctirus Flower Martini.
Chicken Katsu
Equipment
- Meat Tenderizer
- Saran wrap
Materials
Chicken Katsu
- 1½ Lb chicken thighs boneless, skinless
- 2 eggs
- ½ Tbsp cornstarch
- 2 Tbsp water
- 1½ Cup panko
- ½ tsp cayenne
- 1 tsp onion salt
- 1 tsp oregano
- 1½ tsp garlic powder
- 1½ tsp paprika
- ½ tsp crushed red pepper
- 1⅔ cup vegetable oil for frying
- ½ tsp salt
Sauce
- 1 Tbsp worcestershire
- 4 Tbsp ketchup
- 1 Tbsp brown sugar
- 1 Tbsp oyster sauce
Instructions
- Heat a skillet up with vegetable oil on medium heat. The oil should be covering the whole bottom of pan and be at least half an inch thick.
- While the oil is heating up place chicken on flat surface (i.e. cutting board) and cover with saran wrap. Use meat tenderizer to tenderize chicken.
- In one bowl add the eggs, water, and cornstarch. Mix until well combined. In next bowl, add panko, cayenne, onion salt, oregano, garlic powder, paprika, crushed red pepper, and salt. Mix well until combined.
- Once oil is ready to fry (you can take a wooden spoon and dip it in the oil. If it starts bubbling then its hot enough.) take the tenderized chicken, dip it in the egg mixture first then coat it in the panko mix. Transfer it to the hot oil to fry. Fill the pan with chicken but don't overcrowd it. We want some space between each piece.
- Cook each piece for about 3-5 minutes until the bottom is golden brown then flip it and cook the other side. You may have to adjust the heat of stove if your chicken is cooking too fast.
- While the chicken is cooking we can make the sauce. Add all the sauce ingredients together in a small pan on medium low heat. Mix well until the brown sugar has dissolved. Turn off the heat and set pan aside to cool.
- Once both sides are golden brown, take chicken out of skillet and set it on cooling rack. This will insure that the chicken stays crispy while the oil drains. Cook the rest of the chicken.
- Let chicken rest before cutting. Serve on bed of rice and sauce on the side. Enjoy!!
